
Hide Attributes, Modules and Sections for Second-Level Sub Objects
Clarity version 16.2.3 delivers new powerful functionality which allows you to implement business rules for sub objects.
Earlier versions have provided the ability to Hide Attributes, Modules and Sections on parent objects, such as Ideas and Projects. Now, these rules can be created on Tasks, Risks, Issues and other sub objects giving you greater flexibility and control.
An additional benefit is that this version also provides the capability to Set Attributes on sub objects.
Why does this matter? Business rules don’t just manage how data is displayed; they also govern how it’s updated and populated. This allows for greater data integrity as you can restrict who is working in certain spaces on your project and can also ensure data updates are made when they are required.
In this article, we’ll explore some examples on how you can utilize these new features and gain greater control over how users experience your Clarity environment.
HIDE ATTRIBUTES, MODULES AND SECTIONS
You can begin by placing your project blueprint into Edit mode and navigating to the Rules tab.
Note: You will need Administrator access to the Clarity Modern User Experience in order to complete these steps.

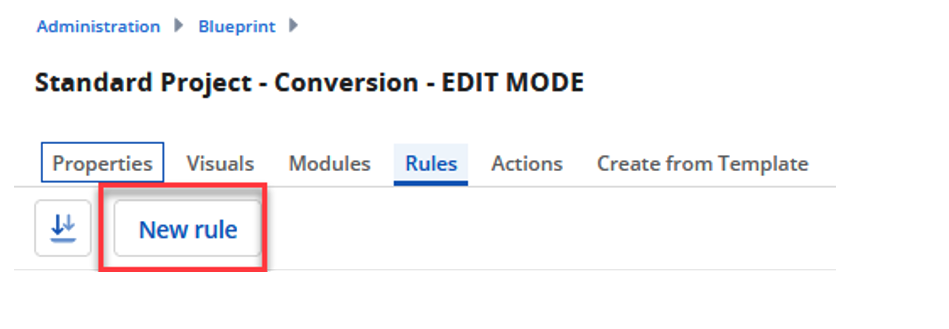
Click on New Rule.
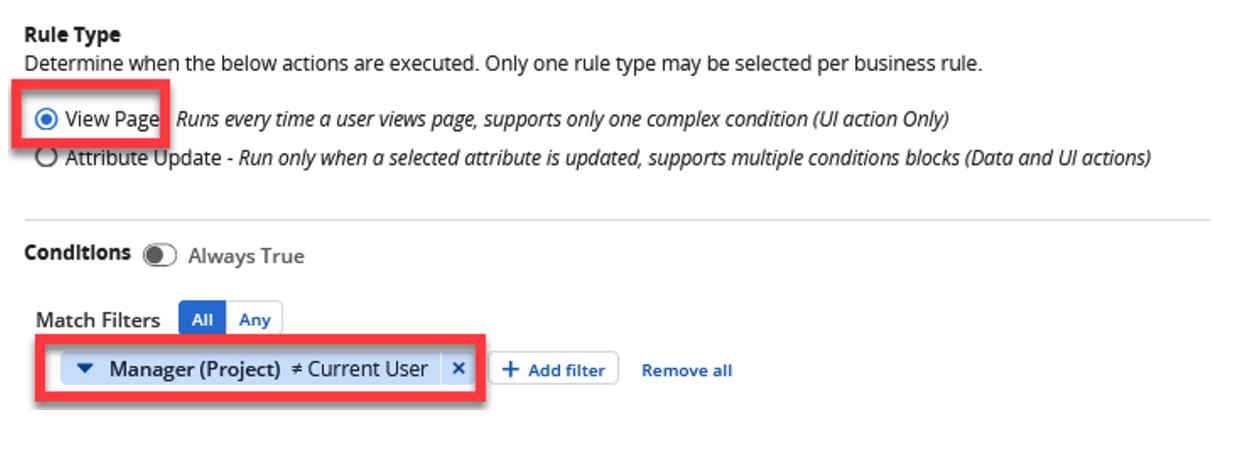
Give your rule a name and add a Description. From here, select the Task as the Target Object, which is a sub object of the Project object.

For this rule, we’ll create a Rule Type which will run whenever a user views the Task page. I.e. it is not reliant on any sort of data update and the rule will be always enforced.
We have also added a filter which states that these rules will be triggered whenever the logged in user is not the project manager listed on the Properties tab of the project.
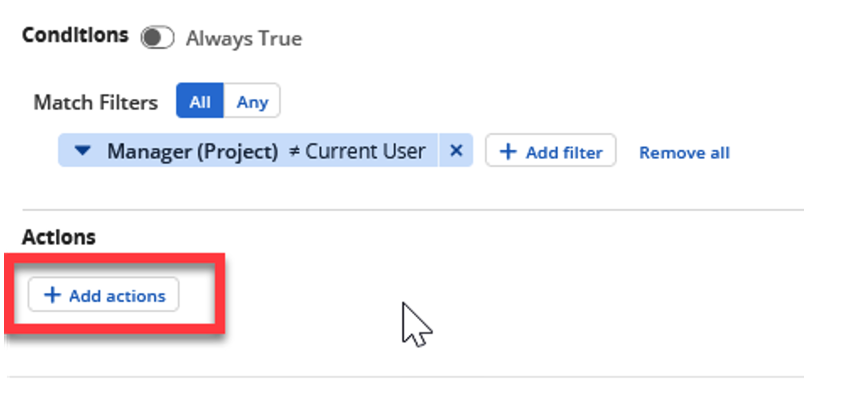
In this next section, we can choose to Add actions.
The rule will be set to perform the following three functions:
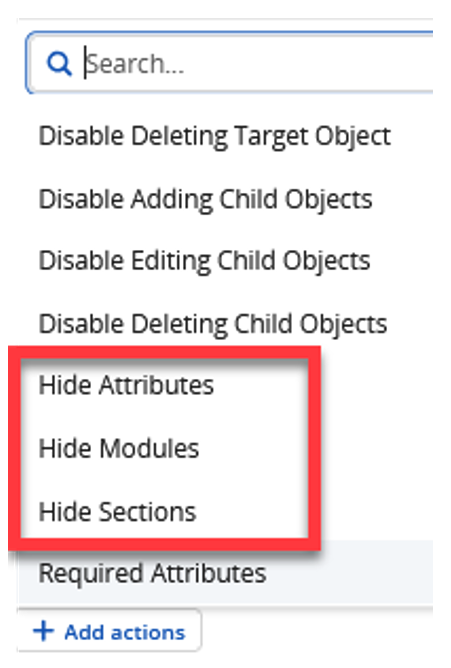
When selecting each action, you can choose which attribute, module or section you wish to hide.
Once you have set your actions, click on Create to finalize the set-up of the rule.

Once the rule has been set up, make sure you click Publish on your blueprint.

We can now perform some checks to confirm that the rule works as intended.
In the example below, we are checking the Manager listed on the project record. In this case, the manager’s name matches the name of the logged in user.

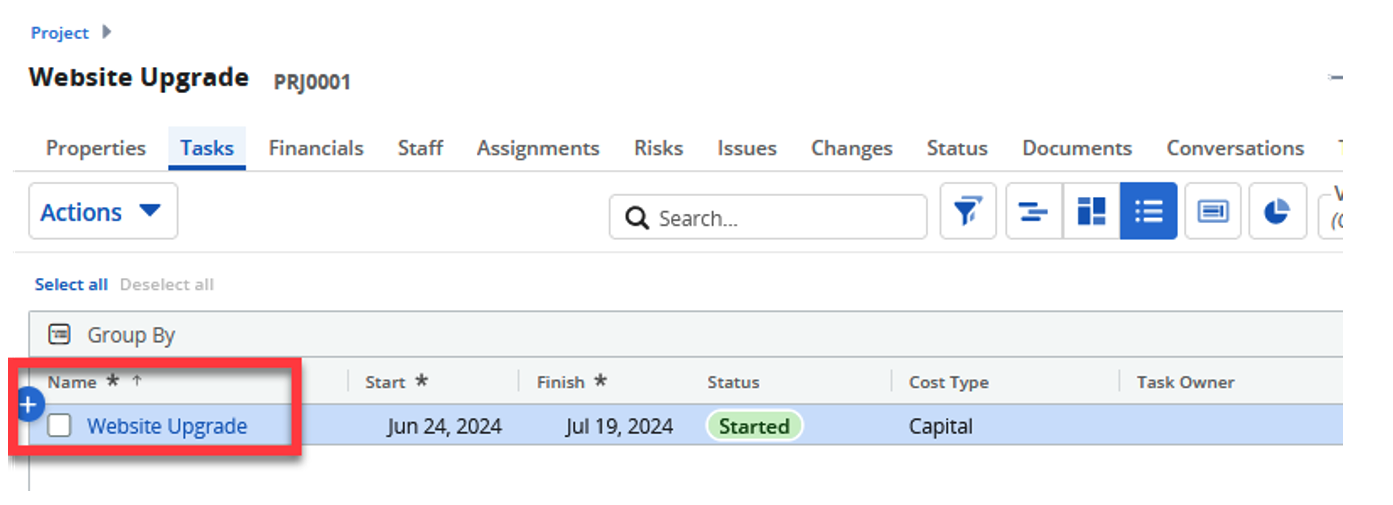
To review task details, simply go to the Tasks tab and drill down into the task detail (via the Name).
Just remember, that to drill down on a Task, you must ‘Enable Properties Navigation’ on the Tasks module, from the project blueprint.
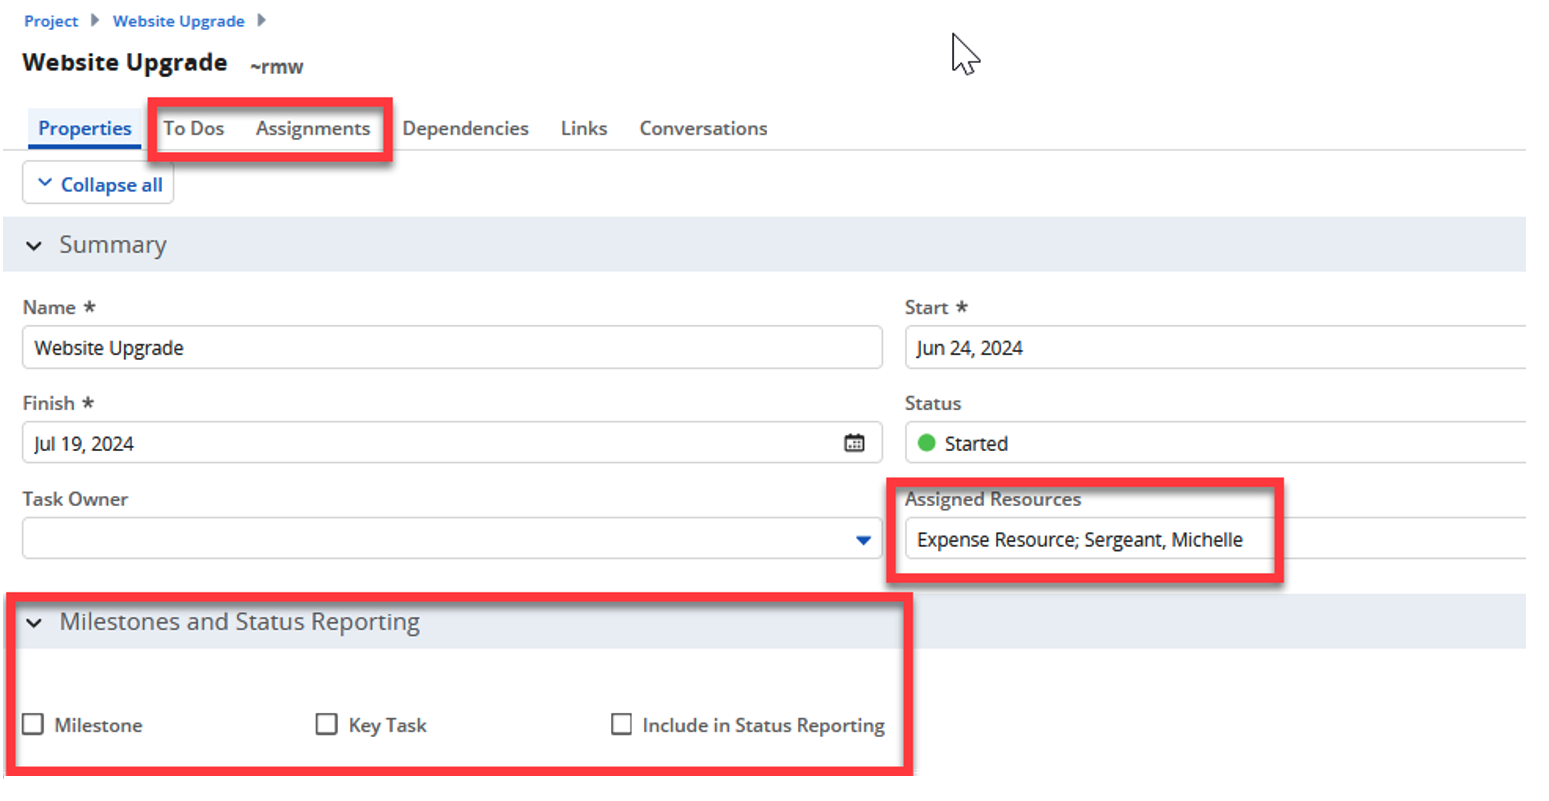
On the Properties tab of the task, we can see the To Dos and Assignments tabs are visible. We can also see the Assigned Resources attribute as well as the Milestones and Status Reporting section here.
This aligns with the rule that we set so these task elements are only hidden with the logged-in user is not the project manager.
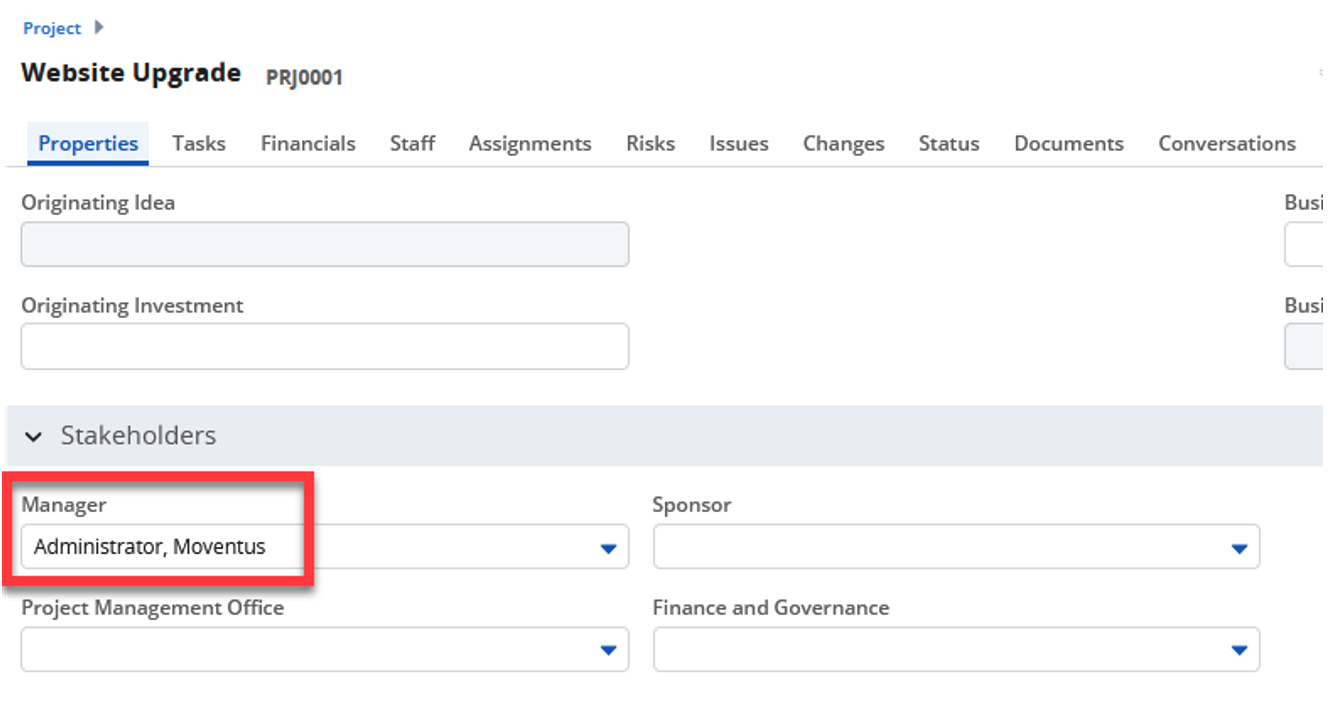
We’ll now go ahead and update the Manager on our project and set it to a different user.
Once we navigate back to the Task, we can see the To Dos and Assignments modules are no longer visible, the Assigned To attribute is hidden, as is the Milestones and Status Reporting section.
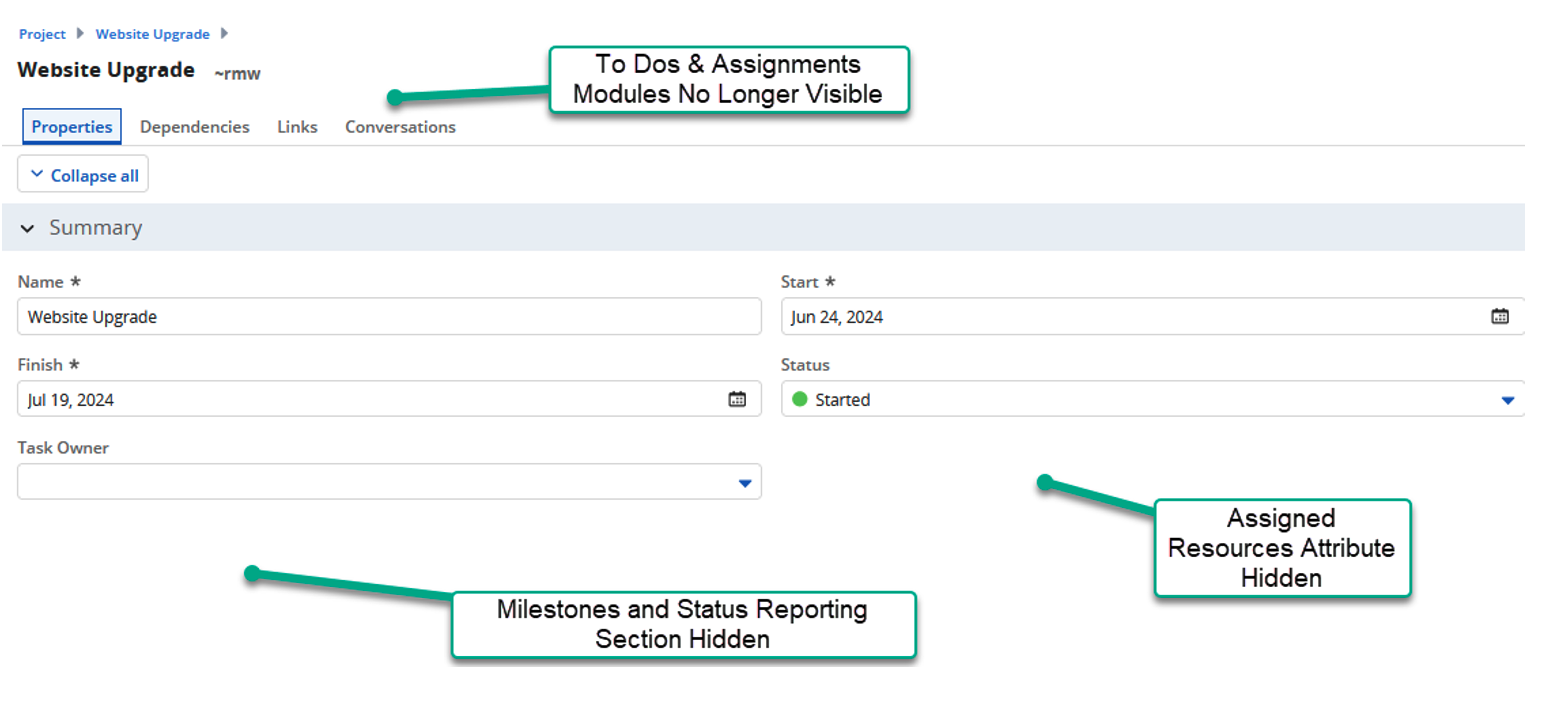
This is in keeping with our business rule, as the logged-in user is not the manager of the project.
SET ATTRIBUTES
Clarity 16.2.3 also introduced the ability to trigger attribute updates based on second-level sub objects.
Again, this can be set up from the Rules tab of the relevant blueprint.
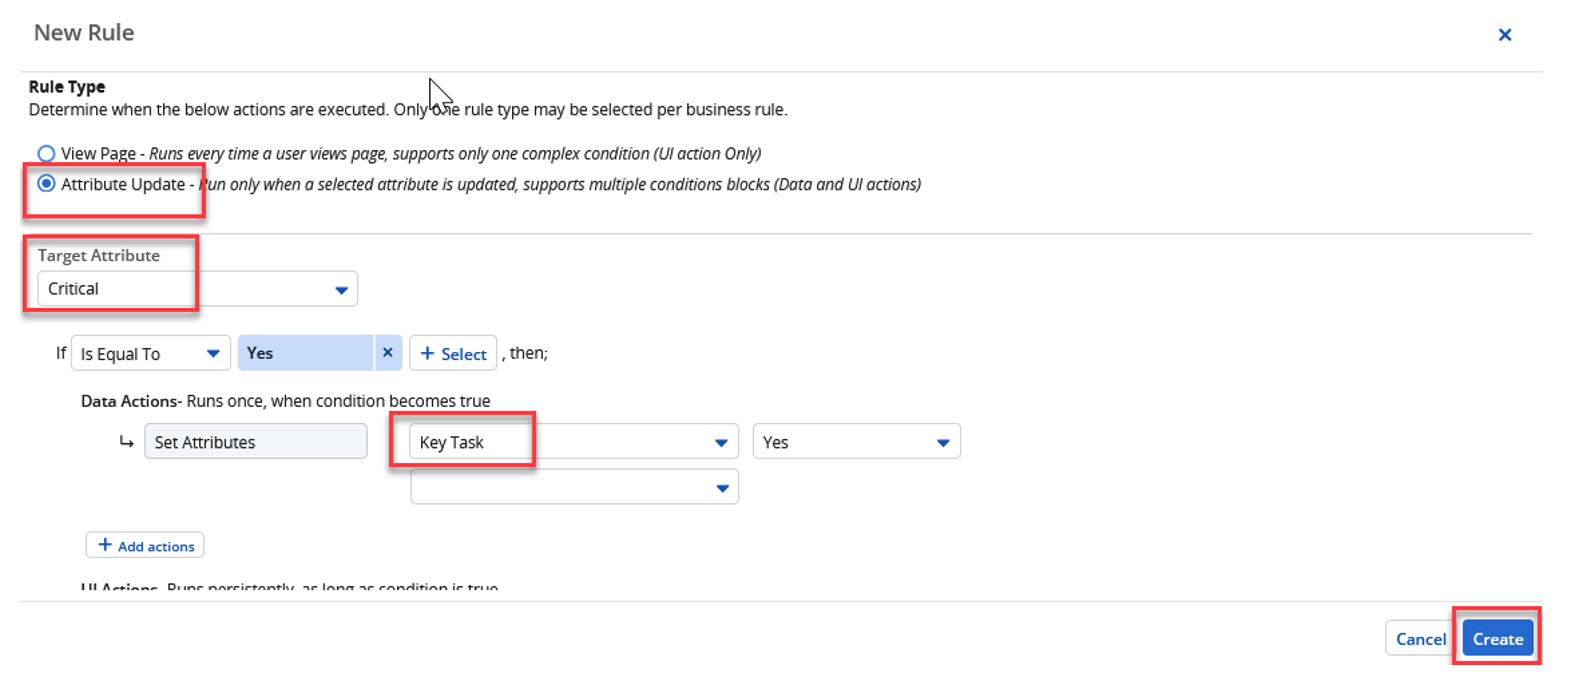
In this example, we will again use the Tasks sub object and will set a rule to update the Key Task value to True whenever the task has been marked as Critical.
To set this up:
- 1Put your project blueprint into Edit mode.
- 2
Navigate to the Rules tab. Click on New Rule.
- 3
Add a Rule Name and Description and select Task as your Target Object.

Choose Attribute Update as your Rule Type.
The new 16.2.3 capability will now allow you to select Task fields as your Target Attribute and for your Data Actions.
Once you have specified the criteria for your attribute update, click on Create to finalize the rule.
Make sure you publish your blueprint, and your rule will then come into effect.
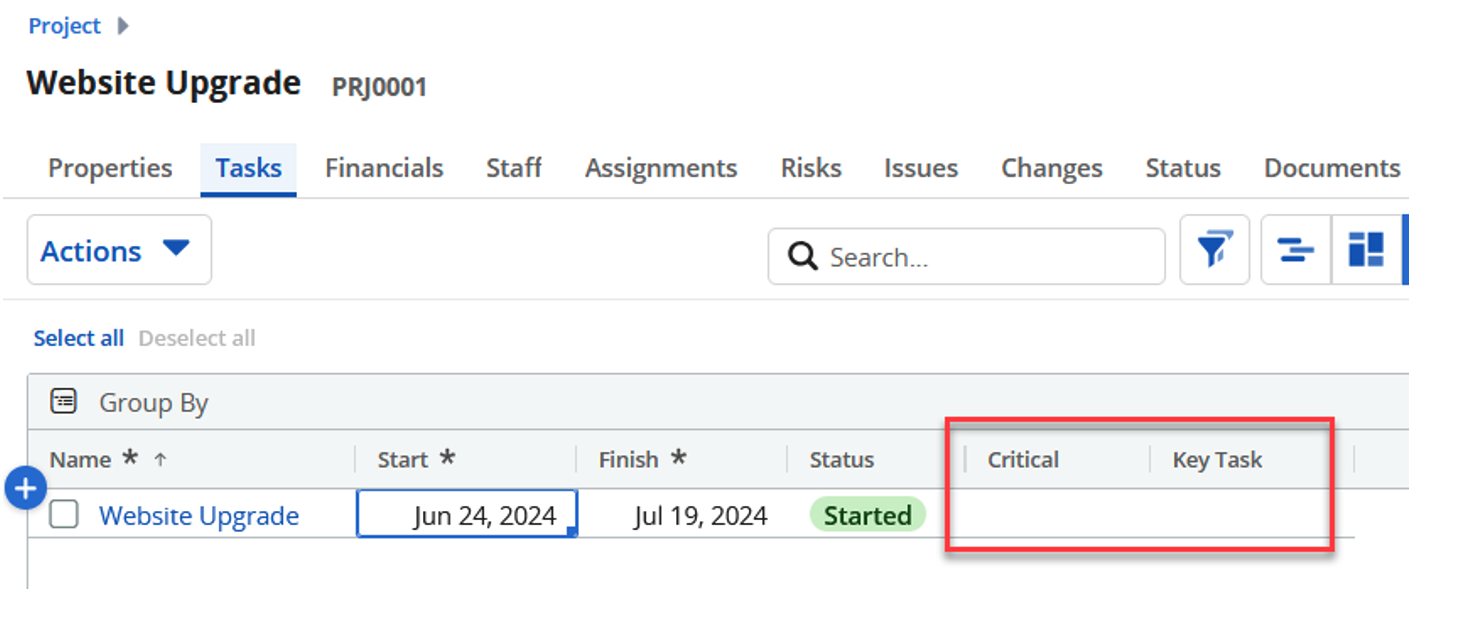
To review this rule in action we’ll go to the Tasks tab of our project. In the example below, you can see the Critical field is not checked and Key Task is blank.
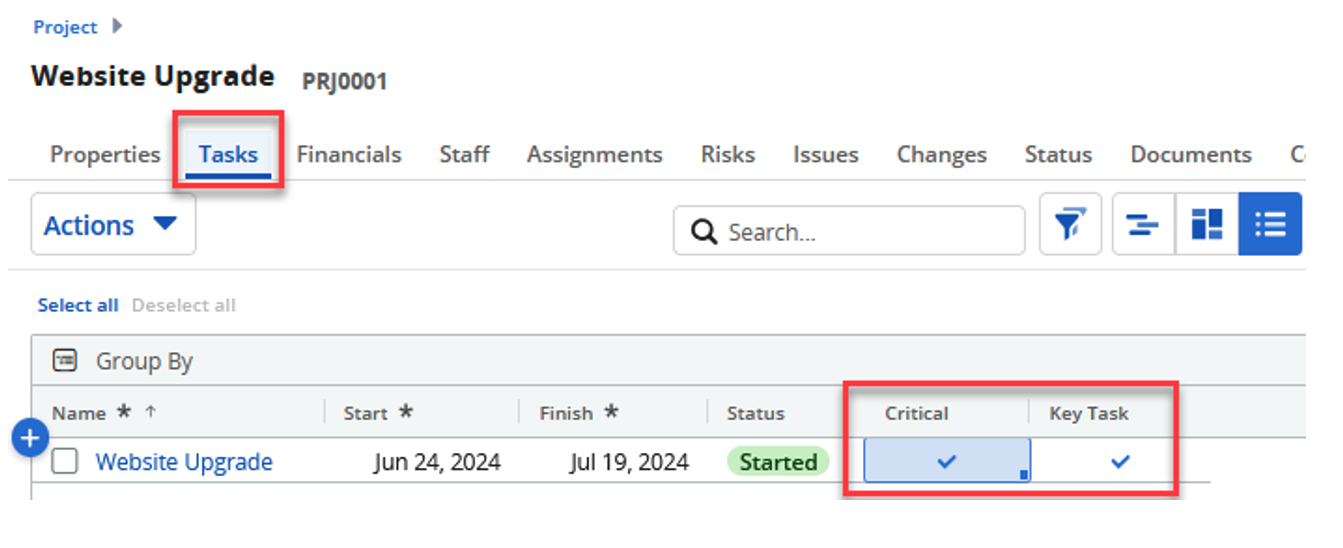
Now check the Critical box.
Automatically, we can see the Key Task value is also updated, and the field is now checked.
Interested in learning more about business rules in Clarity or exploring additional Modern UX features? Rego is here to help.
Our experienced team uses both functional and technical expertise to guide clients to maximize the value of their SPM software.
To learn more, contact ushttps://regoconsulting.com/contact-us/ or reach out to your Rego Account Manager.


