
Did you know you can save time and update your Resource Management data right in the grid?
Today Anand Ranganathan, Functional Consultant at Rego Consulting, shows us two ways to allocate Clarity resources. Read his instructions below.
Clarity | Allocate Resources
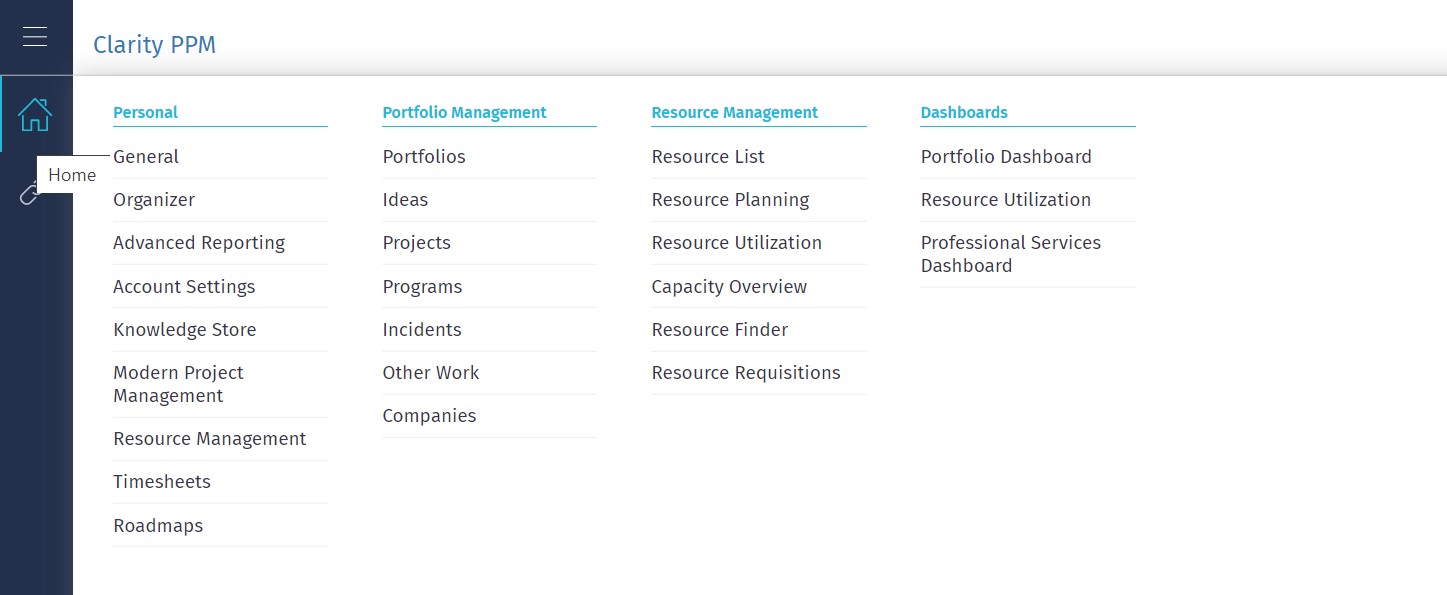
To get to the Resource Planning screen in Clarity, select Home > Resource Management > Resource Planning.
Now select the “Allocations” tab. This displays all the resources you have assigned to current projects.
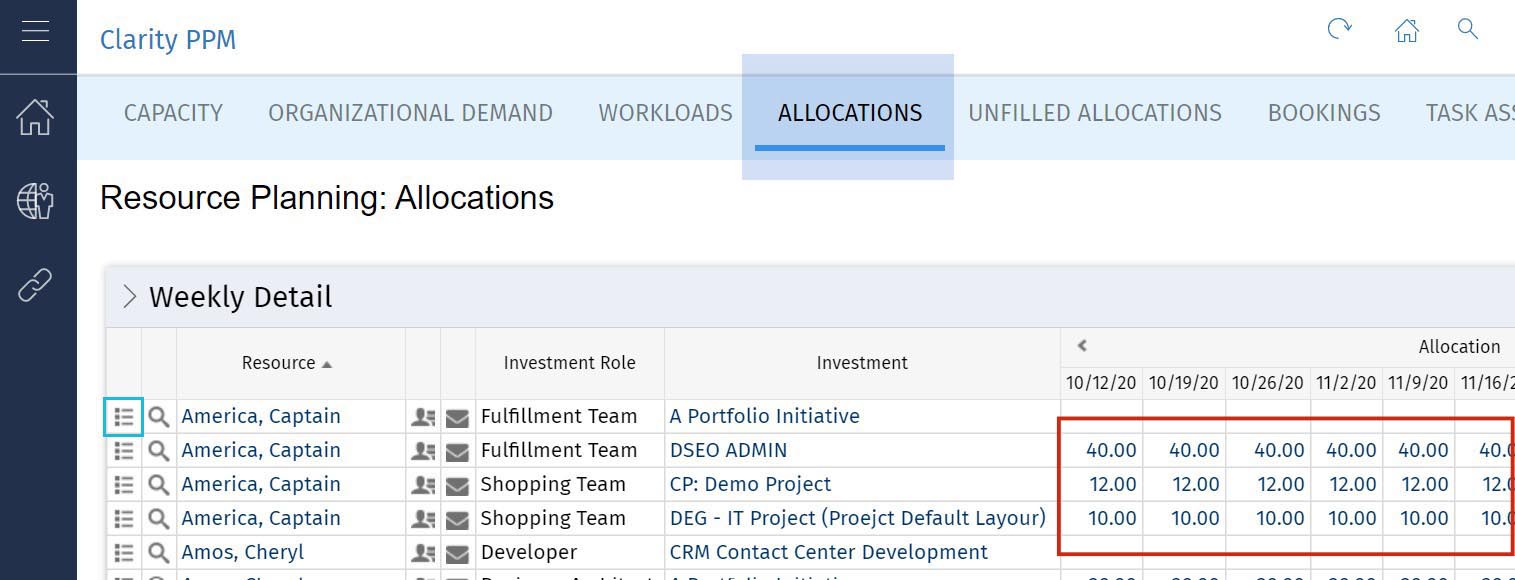
As you can see, Captain America is far too busy; he’s on several projects and allocated to work 62 hours each week. We need to level-load his allocations to 40 hours a week.
There are two options for balancing Captain America’s workload:
- Allocate Captain America’s hours in Properties
- Save time by allocating his hours in the grid
Allocate Via Properties
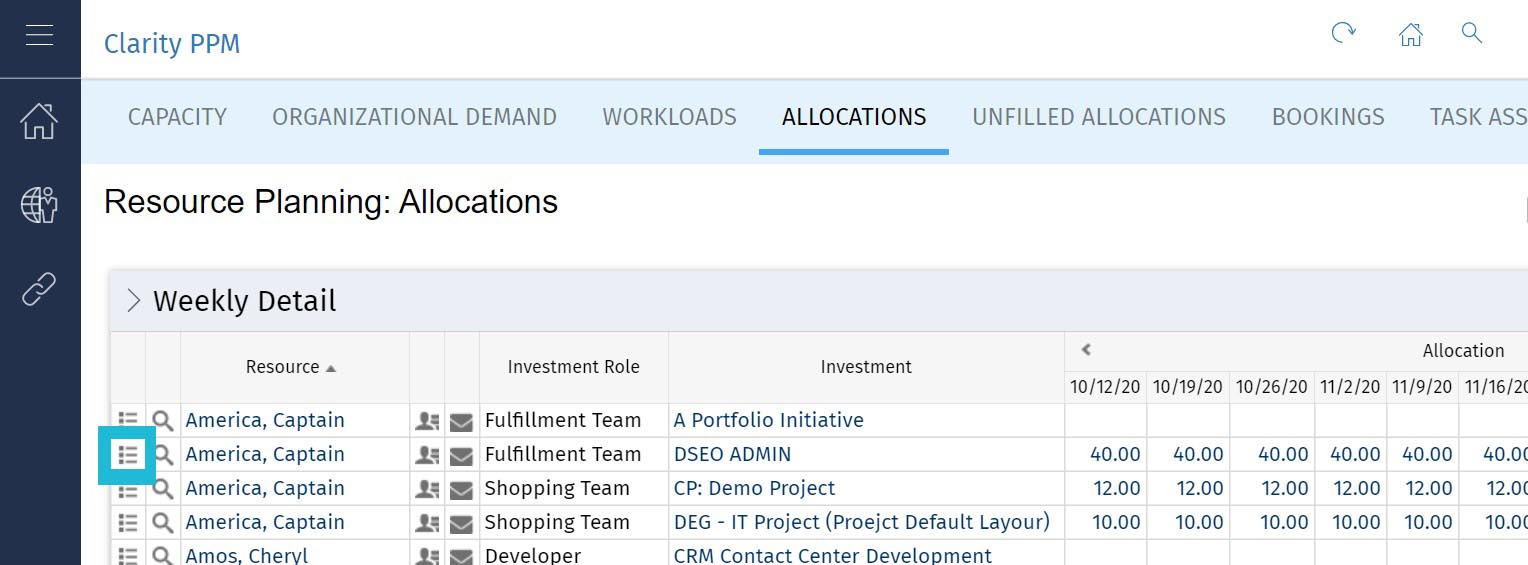
We can go into “Properties” for Captain America on this particular project by selecting the document icon to the left of his name.
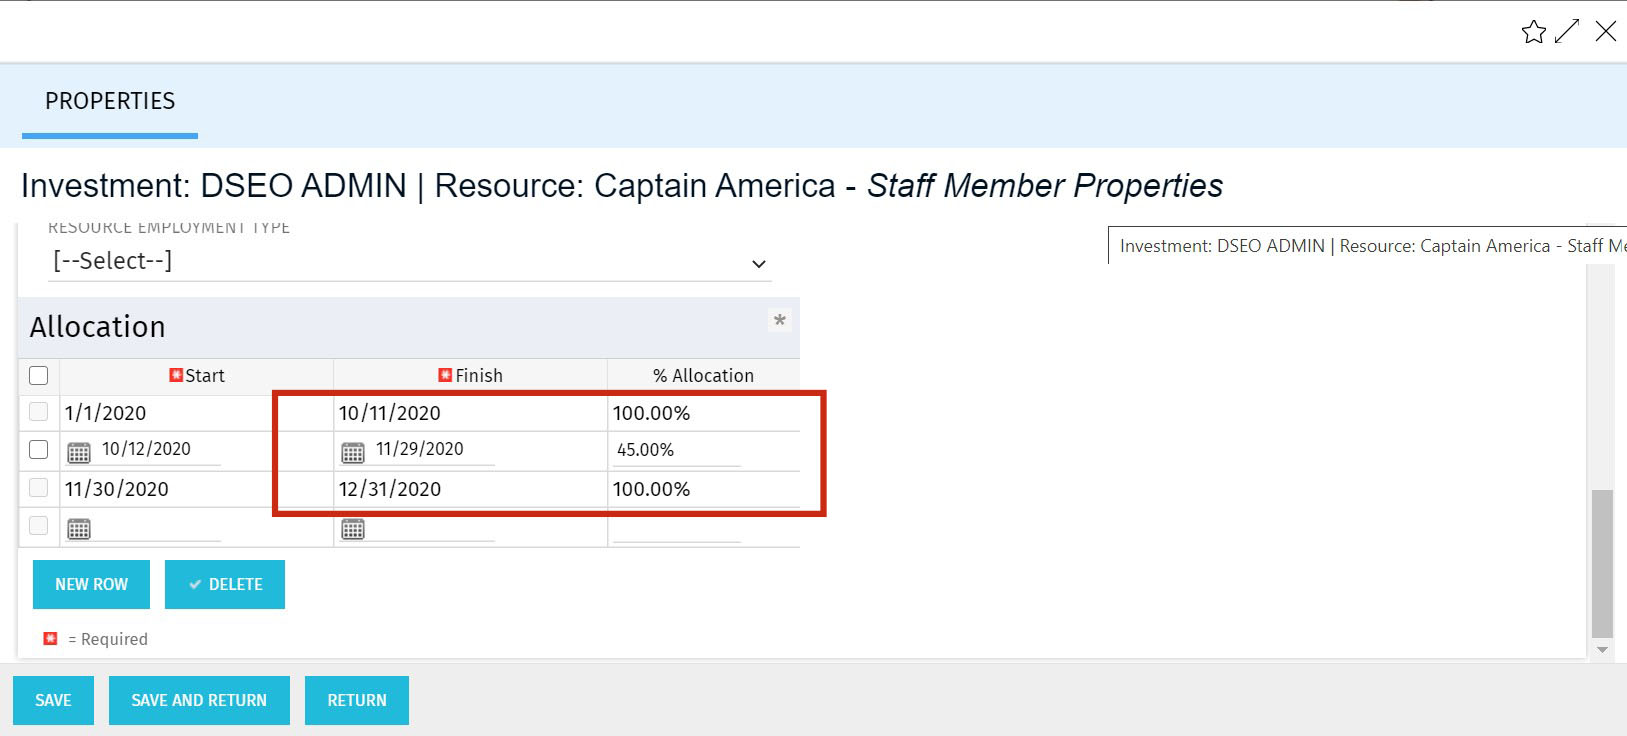
Scroll down to the “Planned Allocation” section
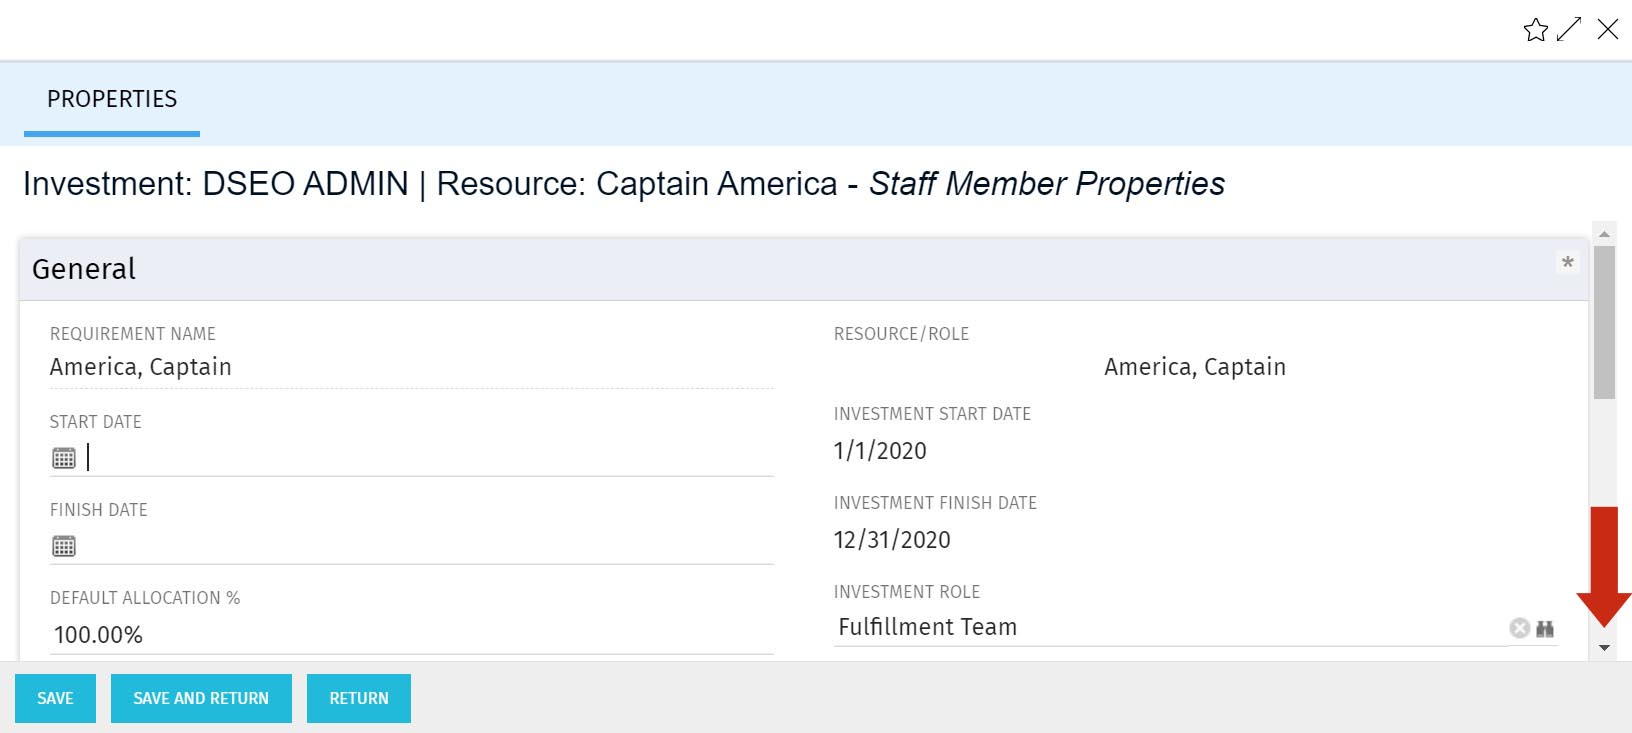
Enter a date range, or segment. For that date range, change the allocation percentage from 100% to 45%, or another appropriate allocation.
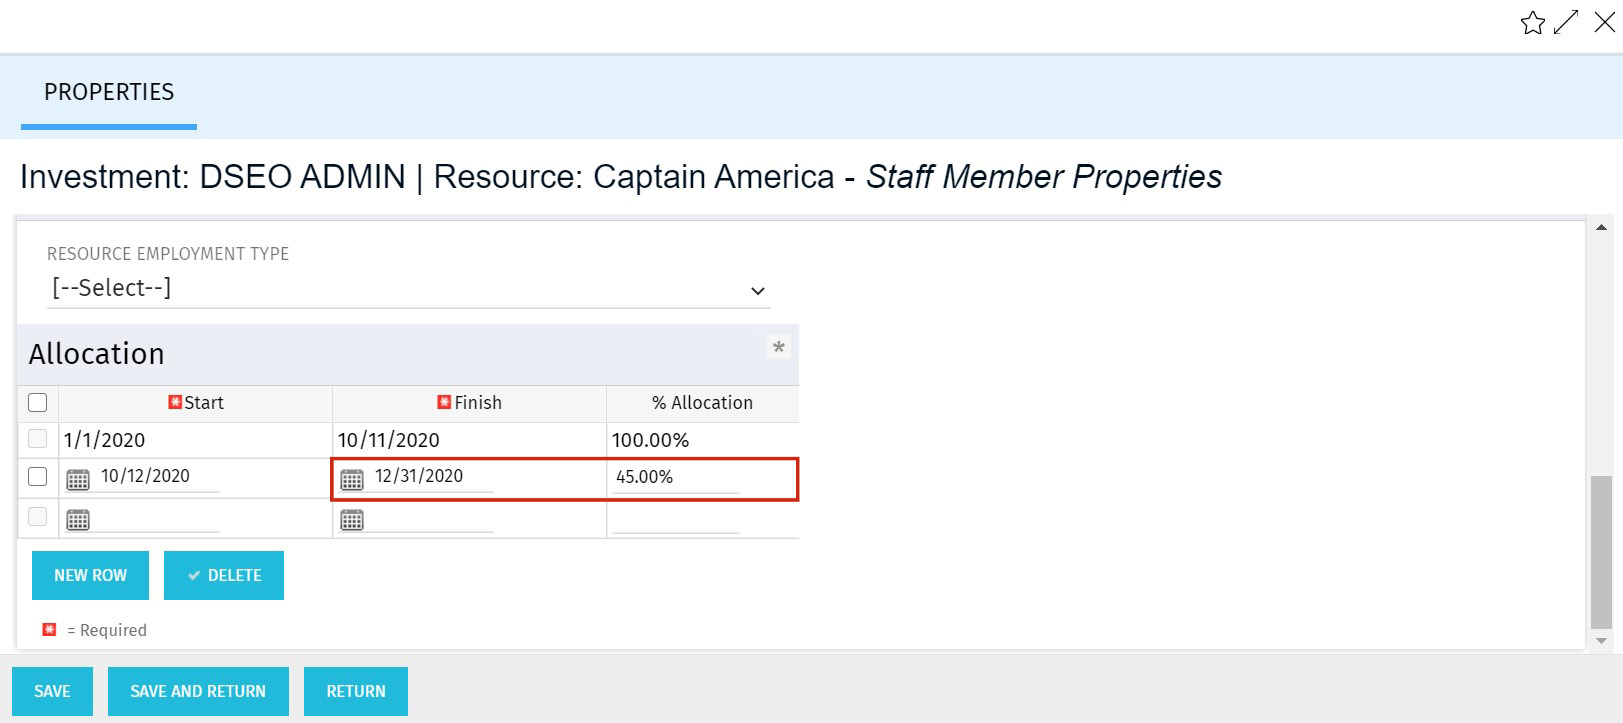
Select “Save and Return”
As your screen is refreshed, the allocation is updated in the grid.
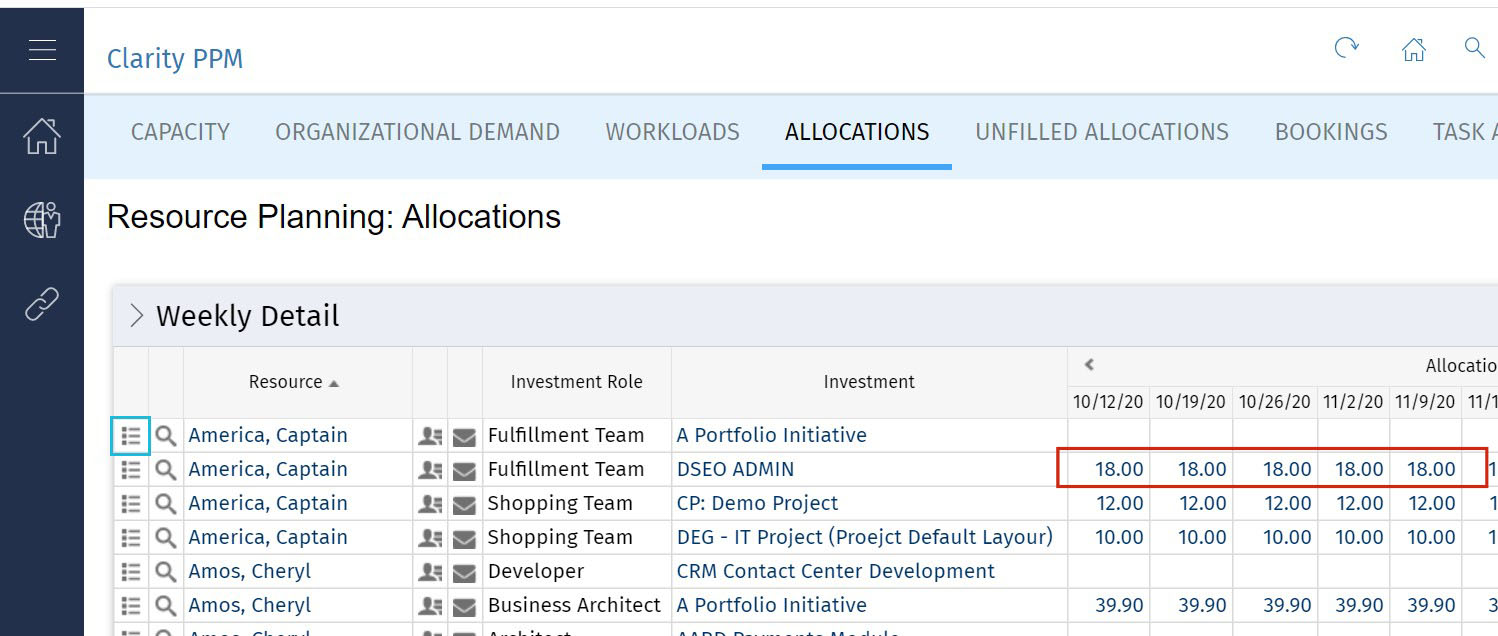
Allocate Via Grid
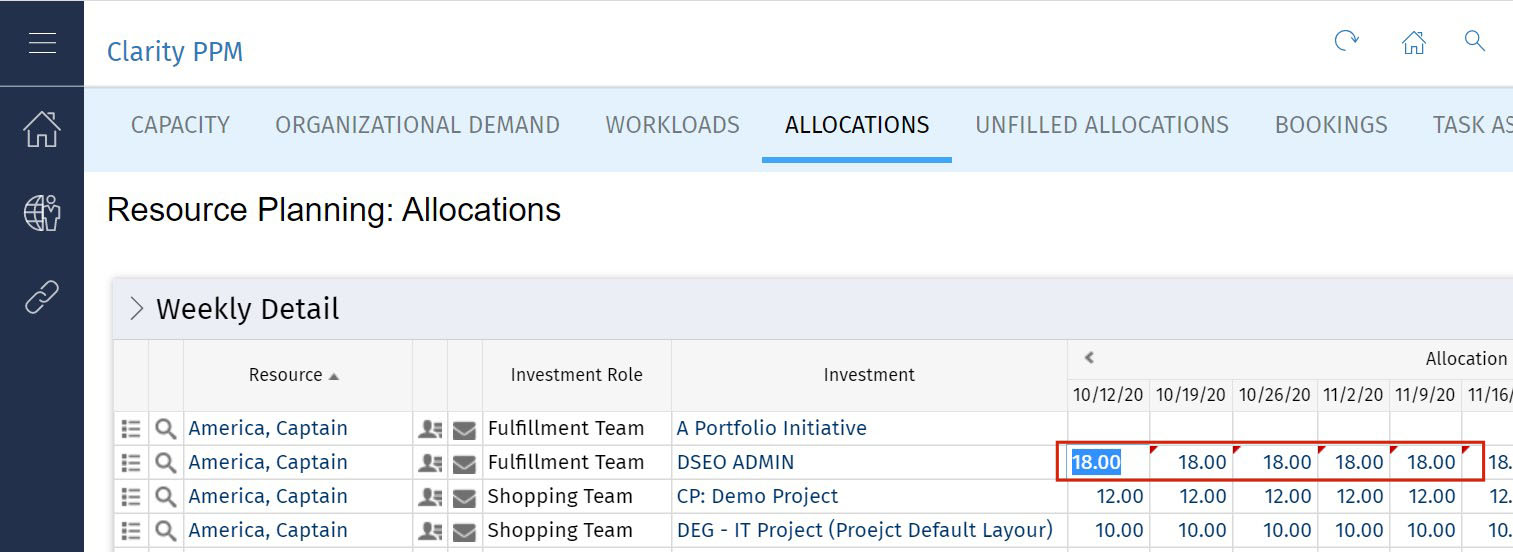
Instead of taking the longer route to level-loading allocations, you can easily do the same thing right in the grid. Simply click on the allocation cell for a date range, and update the number of hours. Don’t forget to hit “Save” and verify your change.
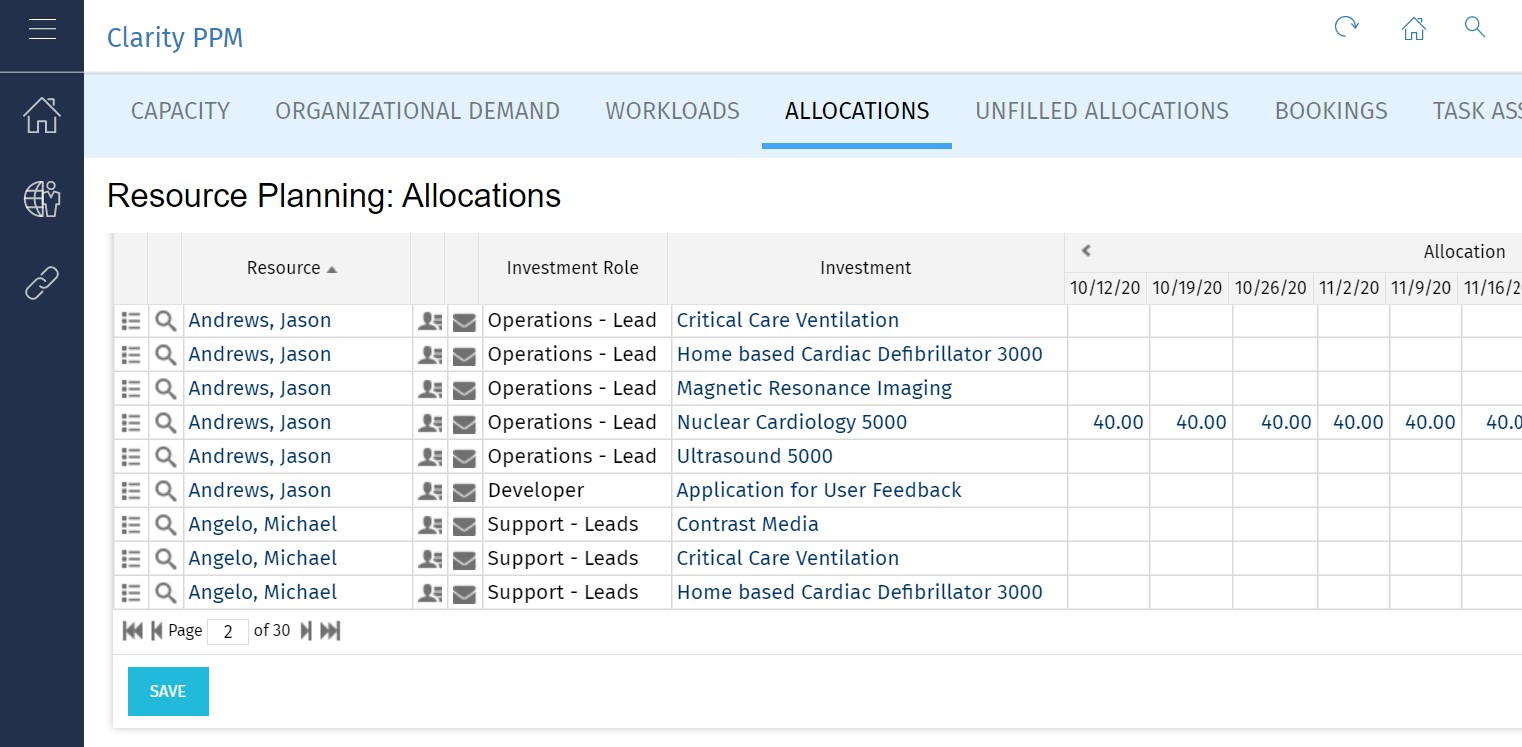
When you return to the Allocations page, scroll down to view Captain America’s allocations.
If you go back into the “Properties” on the project, you’ll see that Clarity has created the segments for you.
Let Rego Be Your Guide
Rego offers free webinars and half-day training classes for Clarity on Roadmaps, Power BI, Portfolio Management, and Jaspersoft. For a full list of Clarity services, visit regoconsulting.com.


